Biking enthusiasts know that a scratched bike not only looks unsightly but can also affect its overall performance. Luckily, there are steps you can take to restore your bike’s appearance and ensure it continues to shine on the road. In this guide, we’ll walk you through the process of removing scratches from your bike, regardless of their severity.
A scratched bike frame can be disheartening, but fear not – with a bit of elbow grease and the right techniques, you can restore your bike’s appearance and boost your cycling confidence.
Identifying Scratch Severity
Understanding the depth of the scratches is crucial before embarking on any restoration process. There are three main types of scratches you might encounter:
Surface Scratches
The most common type of scratch is the surface scratch. These are usually shallow and only affect the clear coat of the paint. Thankfully, these scratches can often be removed with a simple polishing compound.
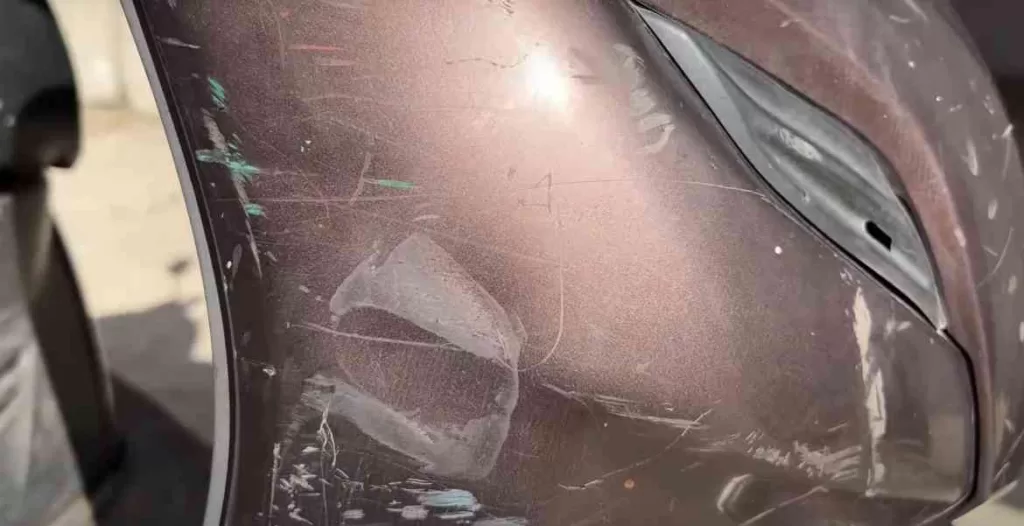
Deep Scratches
Deeper scratches go beyond the clear coat and affect the paint layer. These scratches require more effort to remove and often necessitate touch-up paint for a complete restoration.
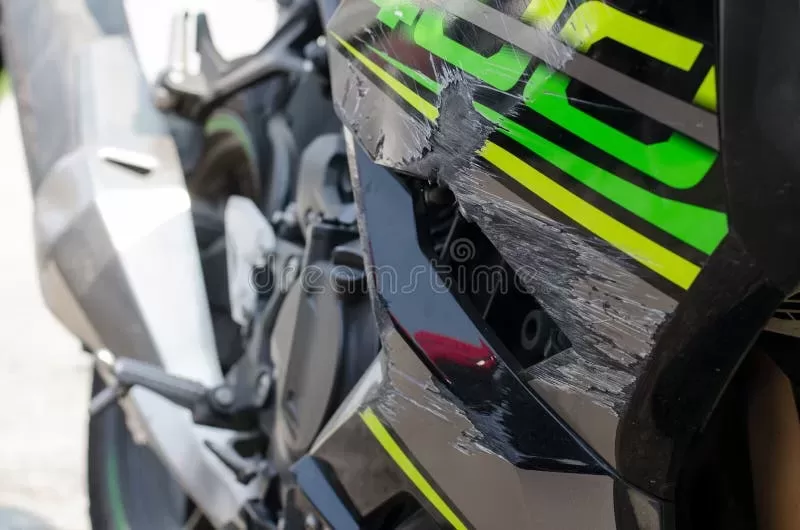
Gouges
Gouges are the most severe scratches, penetrating through the paint layer into the frame material. These require professional attention to ensure the bike’s structural integrity isn’t compromised.
Preparation is Key
Before you begin any scratch removal process, proper preparation is crucial:
Washing the Bike
Start by washing your bike thoroughly with soap and water. This step removes dirt and debris that could worsen scratches during the restoration process.
Drying the Bike
After washing, allow your bike to dry completely. Water residue can interfere with the polishing and painting process, leading to subpar results.
Polishing Away Surface Scratches
How to Remove Scratches from a Bike?
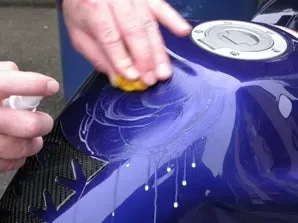
Applying Polishing Compound
Use a bike-specific polishing compound and apply it to a soft cloth. Ensure not to use excessive pressure to prevent damaging the paint.
Circular Motion Technique
Rub the cloth with the polishing compound in a gentle circular motion over the scratch. This even distribution prevents uneven wear and tear on the paint.
Buffing for a Gleaming Finish
Once the polishing compound is applied, use a clean, soft cloth to buff the area until the scratch becomes less noticeable or disappears entirely.
Dealing with Deep Scratches
Deep scratches require a slightly more involved approach:
The Role of Touch-Up Paint
If the scratch goes beyond the clear coat, touch-up paint is your solution. It helps restore the color and protects against rust.
Choosing the Right Color
Pick a touch-up paint that matches your bike’s color. Many manufacturers provide touch-up kits for this purpose.
Precise Application
Using a small brush, carefully apply the touch-up paint to the scratch. Be patient and avoid overapplication.
Drying for Perfection
Allow the paint to dry thoroughly before proceeding. This step is vital to achieve a seamless finish.
Professional Repair for Gouges
Gouges, being the most severe scratches, should be handled by professionals. Attempting to fix gouges on your own could lead to further damage.
Preserving Your Hard Work
After scratch removal, preserving your bike’s appearance is essential:
Applying Clear Coat
To safeguard your efforts, apply a clear coat over the repaired area. This provides an extra layer of protection against future scratches.
Shielding from Future Scratches
Remember that prevention is key. Be cautious when leaning your bike against rough surfaces or objects that could cause scratches.
We have provided a dedicated article that offers comprehensive information about Ban on the Modification of Cars2023. For the further details, we recommend referring to our article.
Additional Tips for Success
Here are some bonus tips to ensure your scratch removal efforts are successful:

Optimal Lighting Conditions

Work in a well-lit area to clearly see the scratches and monitor your progress.

Gentle Approach for Polishing

When polishing and buffing, use a light touch to avoid causing new scratches.

Mastering Thin Coats of Paint

Apply touch-up paint in thin layers, allowing each coat to dry before adding the next.

Patience for Drying

Drying times are crucial for a flawless finish. Be patient and allow each layer to dry completely.

Long-Term Protection

Reapply the clear coat every few years to maintain the bike's appearance and prevent new scratches.
Conclusion With these steps, you can bid farewell to scratches and welcome back the lustrous appearance of your bike. Whether it’s a surface scratch or a deeper one, the right techniques and a bit of patience will ensure your bike looks its best.
FAQs
- How long does the touch-up paint take to dry?
Touch-up paint typically takes around 24 hours to dry completely. - Can I use any polishing compound?
It’s best to use a polishing compound specifically designed for bikes to avoid potential damage. - What’s the average cost of professional repair?
Professional repair costs can vary widely, depending on the severity of the damage and the bike model. - Is it possible to remove scratches from a matte-finish bike?
Yes, but the process may be more delicate, and you should use products specifically designed for matte finishes. - How often should I reapply the clear coat?
Reapply the clear coat every two to three years to maintain optimal protection and appearance.